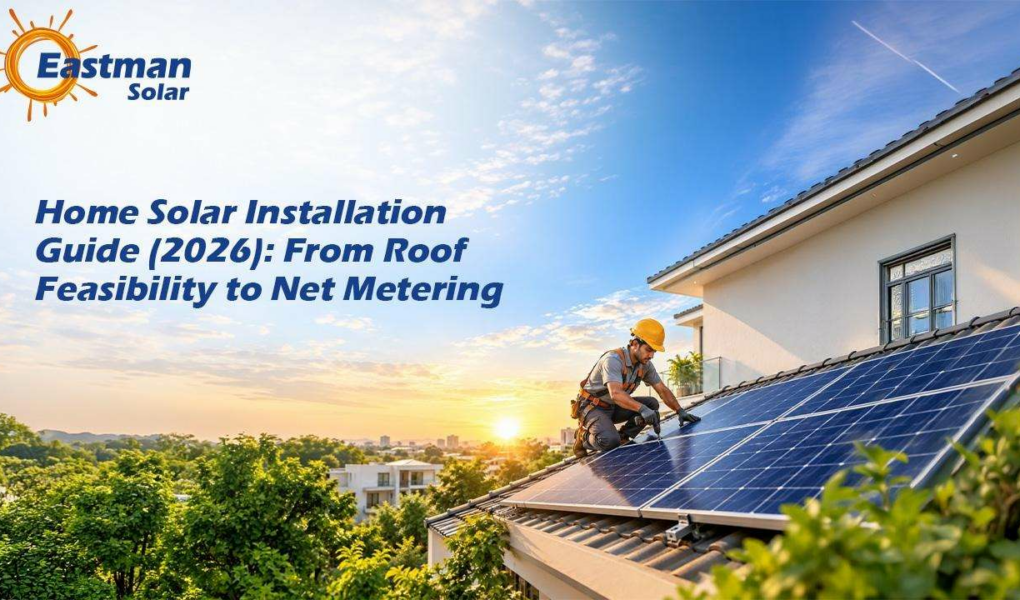
Published on: September 25, 2026
Walk through most Indian neighbourhoods today, and you’ll spot them: rows of solar panels sitting alongside the water tanks and TV antennas, turning sunlight into rupees saved on the monthly electricity bill.
If you’ve been weighing up whether 2026 is the year to make the switch to a solar system, this guide walks you through everything from roof feasibility to net metering, so you can make the right decision about a home solar installation.
Why Consider Installing Solar Power in Your Home?
DISCOM tariffs keep climbing, grid outages remain a fact of life in many places, and the technology itself has matured into something genuinely dependable rather than a novelty for early adopters.
This is where a well-specified system can offset a substantial share of a household’s electricity consumption, insulating you from the tariff hikes that hit household budgets year after year.
Now you may wonder, ‘Won’t putting up solar panels cost even more?’ Luckily, in India, this has never been more easier with the help of government incentives.
The numbers back this up. Rooftop solar installations under the PM Surya Ghar Muft Bijli Yojana crossed 50 lakh households by August 2026, taking cumulative rooftop capacity to nearly 14.8 GW nationwide. This is fast becoming the default for anyone rebuilding or renovating a home.
So, let’s break down the cost factor even more.
Evaluating the Cost vs. Long-term Savings
No one pretends a solar roof installation comes cheap upfront. A typical domestic system, once you’ve factored in panels, inverter, mounting structure and labour, represents a meaningful investment.
But the maths has shifted decisively in homeowners’ favour. With subsidy support and today’s electricity prices, most well-designed systems pay for themselves within four to seven years, and panels are commonly guaranteed for twenty-five years or more beyond that point.
Your payback period depends on a handful of variables worth checking before you commit:
- Your roof’s orientation and shading through the day
- Your household’s daytime energy usage
- Your state’s net metering policy and applicable subsidy slab
- Local sunlight hours, which vary considerably between, say, Rajasthan and Kerala
Reputable installers will model this for you before you commit a single rupee, and it’s a conversation worth having in detail.
Picking Your System Type: On-Grid, Off-Grid or Hybrid
Before you get into the mechanics of assessment and installation, there’s a more fundamental decision to make: what kind of system fits how you actually use power.
Once you’ve settled on a system type, the next step is figuring out whether your roof and household consumption pattern can actually support it, which is where the assessment stage begins.
Solar System Types
- On-Grid
- What It Is: Connected directly to the DISCOM grid; surplus power is exported and credited through net metering.
- Net Metering Eligibility: Yes
- Best Suited For: Homes with reliable grid supply and no need for backup during outages.
- Off-Grid
- What It Is: Fully independent system with battery storage; not connected to the grid.
- Net Metering Eligibility: No
- Best Suited For: Remote areas with poor or no grid access.
- Hybrid
- What It Is: Connected to the grid and paired with a battery, allowing power to be drawn from either source depending on availability.
- Net Metering Eligibility: Yes, in most states
- Best Suited For: Homes with frequent power outages that still want net metering benefits.
A Step-by-Step Guide to Solar Installation in a Home
If you’ve been weighing up whether 2026 is the year to make the switch to a solar system, this guide walks you through everything about solar installation in home settings. Broadly, it unfolds in five stages:
- Assessment: Roof feasibility, structural survey, and DISCOM eligibility check.
- Planning and Design: Panel layout, system sizing, and net metering application.
- Selecting Panels and Inverters: Matching hardware to your roof and budget.
- Installation: Mounting, wiring, and inverter commissioning.
- Approval: DISCOM inspection and net meter installation before you go live.
Let’s take a look at these steps in detail,
Step 1: Assessment
The assessment stage begins with roof feasibility. An installer will examine your roof’s structural condition, its slope, its aspect, and any obstructions such as water tanks, overhead cables, or overhanging trees.
Reinforced Concrete Slab (RCC) flat roofs, sloped tile roofs, and tin sheds each demand different mounting approaches, and a structural survey will confirm whether reinforcement is needed before panels go anywhere near the surface. This is also when your DISCOM’s net metering application process is initiated, since approval timelines can run several weeks depending on your state electricity board.
Step 2: Planning and Designing Your Solar Roof Installation
Once feasibility is confirmed, attention turns to designing your solar roof installation properly. This is where an installer maps panel placement against your roof’s usable area, calculates expected annual generation, and sizes the system to match your household’s consumption pattern rather than simply maximising panel count.
Cabling routes, the location of your inverter, and where your existing meter board sits all factor into the design, as does the eventual placement of a battery backup unit if you’re adding one.
Step 3: Selecting the Best Panels and Inverters
Panel technology has advanced considerably, and here’s how you can compare and choose the best fit for your needs:
Solar Panel Types
- Monocrystalline
- What It Is: Made from a single, continuous silicon crystal, giving it a uniform structure that allows electrons to flow more freely.
- Best For: Limited roof space and urban homes.
- Polycrystalline
- What It Is: Made by melting multiple silicon fragments together into a mold, resulting in a multi-crystal structure with visible grain-like patterns.
- Best For: Larger, unshaded roofs.
- Bifacial
- What It Is: Uses a transparent backsheet or dual-glass design to capture sunlight from both the front and rear of the panel.
- Best For: Light-coloured terraces and elevated mounts.
The inverter deserves equal scrutiny, since it’s the component that converts the direct current your panels produce into the alternating current your home actually uses.
- String inverters remain the most common and cost-effective option for straightforward roofs.
- Whereas micro-inverters or power optimisers earn their premium on complex roofs with partial shading, where they prevent one shaded panel from dragging down the output of an entire array.
Warranty length and after-sales service network matter just as much as the spec sheet; a panel that outlives its inverter by a decade is a false economy.
Step 4: Installation
With design finalised and hardware chosen, the physical work begins: mounting the panels to your roof structure, running the wiring back to the inverter, and commissioning the inverter so the system is ready to generate power.
A smooth solar energy installation for a home project hinges less on the hardware and more on the process around it: timelines can slip when scaffolding bookings or crew scheduling aren’t sequenced properly, so ask any prospective installer to lay out a realistic schedule before work begins.
Step 5: Approval
This final stage is where paperwork and process determine how quickly you actually go live. The pace of adoption tells its own story: the rate of new rooftop installations more than tripled between October 2025 and July 2026, rising from roughly 5,000 systems a day to over 16,000 a day nationwide, as DISCOMS streamline approvals under the central scheme. That speed only holds up, though, if your own net metering paperwork is handled correctly from the start.
Net metering is the piece too many homeowners overlook until after installation. This is the mechanism by which surplus electricity your panels generate but don’t use is exported to the grid, with your DISCOM crediting your bill for the units sent back. A few points worth confirming with your installer upfront:
- Whether your state follows net metering, gross metering, or a hybrid model
- The subsidy slab you qualify for under the current central scheme
- The typical time your DISCOM takes to issue the net meter
- How billing credits are adjusted, monthly or annually
Once the DISCOM completes its inspection and installs the net meter, your system is officially live.
Aftercare matters too: ask about monitoring apps, cleaning schedules for dust and pollen build-up, and how quickly an installer responds if output unexpectedly drops.
Why Choosing a Trusted Partner Like Eastman Auto & Power Limited Matters
In the end, the difference between a solar installation you’re proud of and one that disappoints usually comes down to who you choose to do the work. A trusted partner makes all the difference to your solar energy installation for your home, from certification and transparent quoting to a track record of installations that perform as promised years down the line.
Some features that make it worth considering as your installation partner are,
- Fastest Services: 2-hour response time with dedicated 24×7 service availability.
- Strong Backend Support: Backed by a team of 300+ service professionals.
- Widest Network: PAN-India on-site service support.
- EastmanONE App: Real-time remote monitoring with instant notifications on energy generation, battery levels, and inverter status, so issues get caught before they become problems.
Choosing well at the outset saves headaches later. With the right partner, the right design, and a clear-eyed view of the economics, a home solar installation stops being a leap of faith and becomes simply good sense.